


Beyoncé, Justin Timberlake, Paula Brunt…what do the three have in common? They are all “pop” artists. Except they create “pop” music and I create “pop”-sicles. As a mother of two, I’d like to think that I have somewhat mastered the art of making some of these tasty, homemade frozen concoctions. Consider me your “Pop Star” of the freezer!
By using just a few simple, all natural ingredients (most of which I already have in the fridge or pantry), I have made some rather delicious, at times decadent, frozen treats that far exceed the store bought ones. On any given day, I can offer my children a cool, healthy treat to beat the heat on these hot Florida days.


So you wanna be a “Pop Star” too? Here are 4 easy popsicle recipes to get you well on your way to stardom.
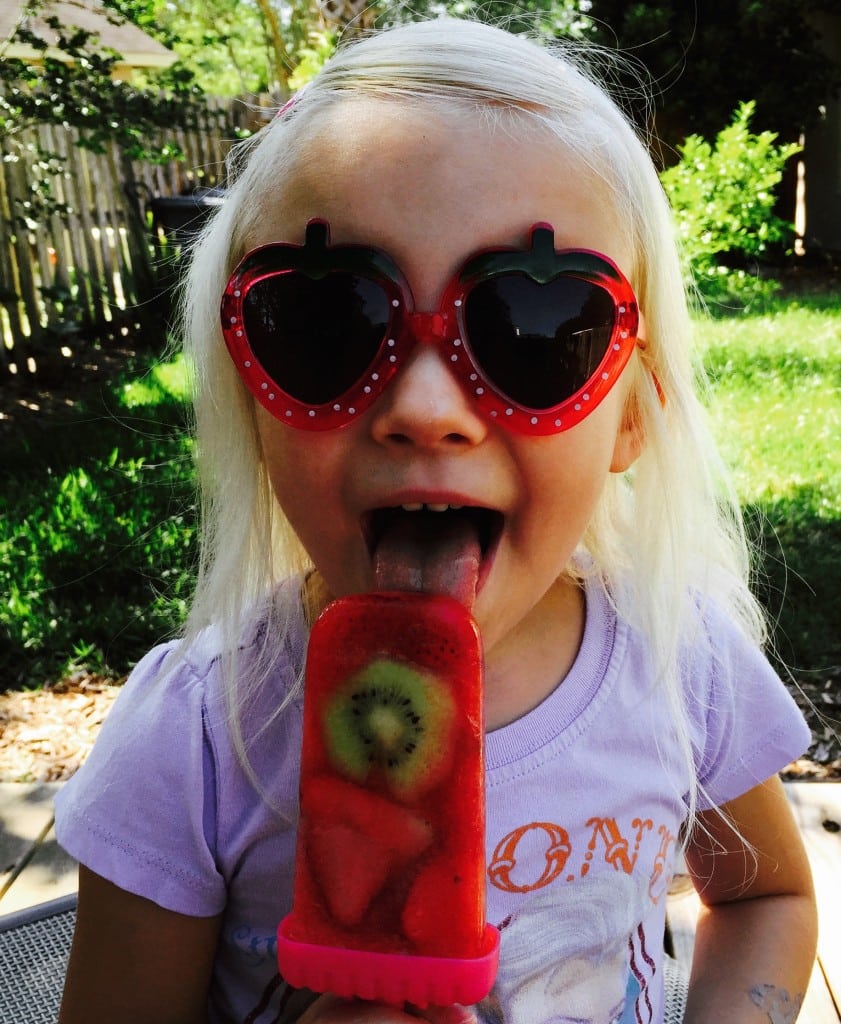
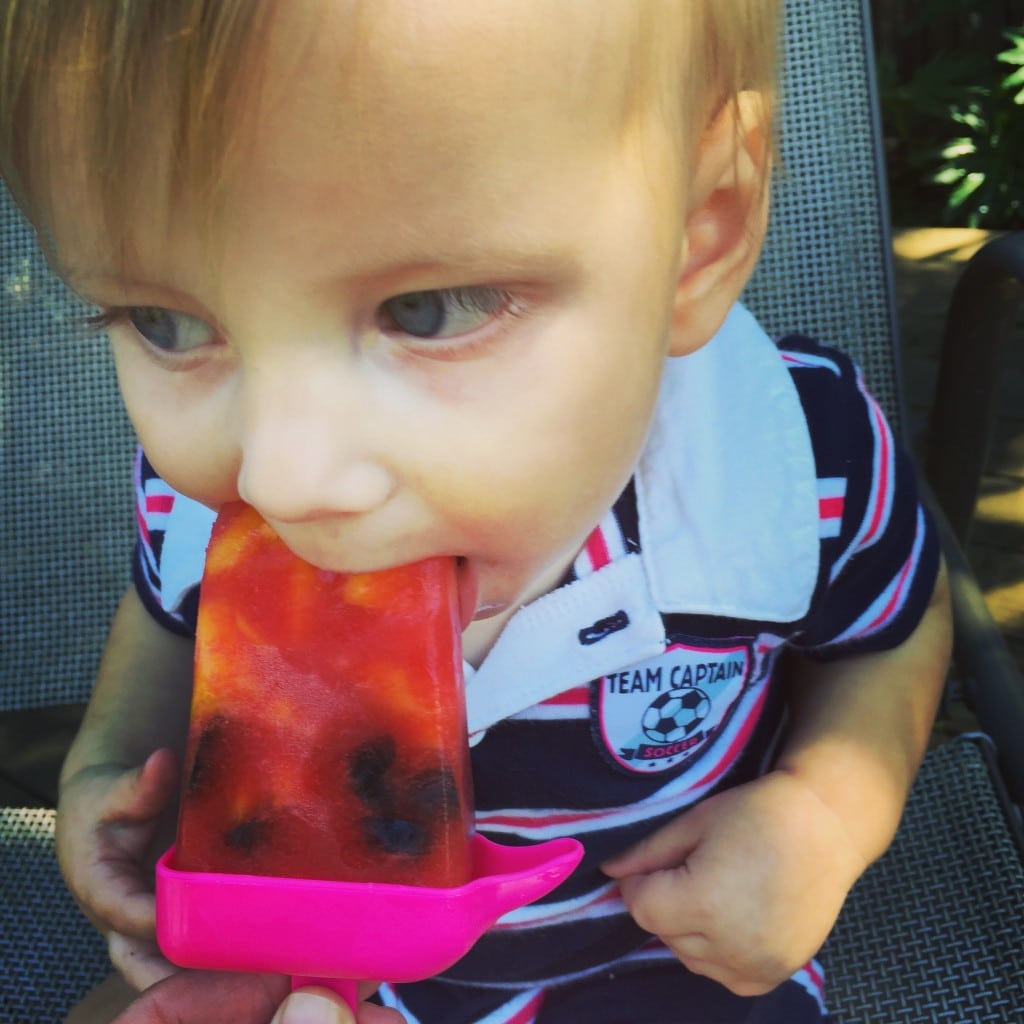
Watermelon Fruit Popsicles
About 2 -3 cups fresh watermelon puree
Fresh Fruit, sliced and whole
Watermelon fruit pops (as my daughter calls them) are one of our favs. This simple recipe just calls for fruit, that’s it! Pureed watermelon for the base with added sliced and/or whole pieces of fruit. We like to use strawberries, kiwi, mangos, and blueberries, but any fruit will work. The kids will enjoy helping out by stuffing the popsicle molds with fruit. Then all that’s left is to pour in the puree, all the way to the top, insert sticks, and freeze. It generally takes about 4 hours then you are ready to go. And they are not only tasty but quite a pretty little treat too. Makes about 8-10 pops.
Everyone will be singing, “I want a pop-si-cllle. Give me a pop-si-cllle!”
Banana Avocado Fudgesicles
1 whole ripe avocado
2 cups chocolate almond milk
2 tablespoons cocoa powder
This creamy, treat is not only for the kiddos! Get your chocolate-fix on by popping the ingredients in the blender, then pour into your molds and freeze for about 4 hours. Makes about 6-8 pops depending on mold. If you want, add a banana to mix for a little added flavor. Easy peasy and so yummy! Oh and feel free to drink any leftoovers, you won’t regret it!
Sing it with me now, “I want a pop-si-cllle. Give me a pop-si-cllle!”
Berry Yogurt Pops
(Modified version of a Popsugar recipe)
1 cup yogurt, plain or vanilla
1 whole ripe banana
3 cups of fresh berries (raspberries, blueberries, and/or blackberries)
1/4 cup of lemon juice
1/8 cup water
These decadent delights are not only good for you and your babes, but are sure to satisfy those summery ice cream cravings. They are a bit more filling than the others being a yogurt pop. Start by blending the yogurt and banana until smooth, then pour into the molds. Rinse the blender, and add the berries, lemon juice, and water and mix until smooth. Top the yogurt blend off with the berries mixture and take a stick (I use a wooden skewer) and swirl. Insert the sticks and place in the freezer. Yogurt pops tend to take longer to freeze due to their thicker consistency. I give them a good 6 hours. Makes about 6-8 depending on mold. These can also be made vegan-friendly by using soy yogurt. YUM!
One more time, “I want a pop-si-cllle. Give me a pop-si-cllle!”
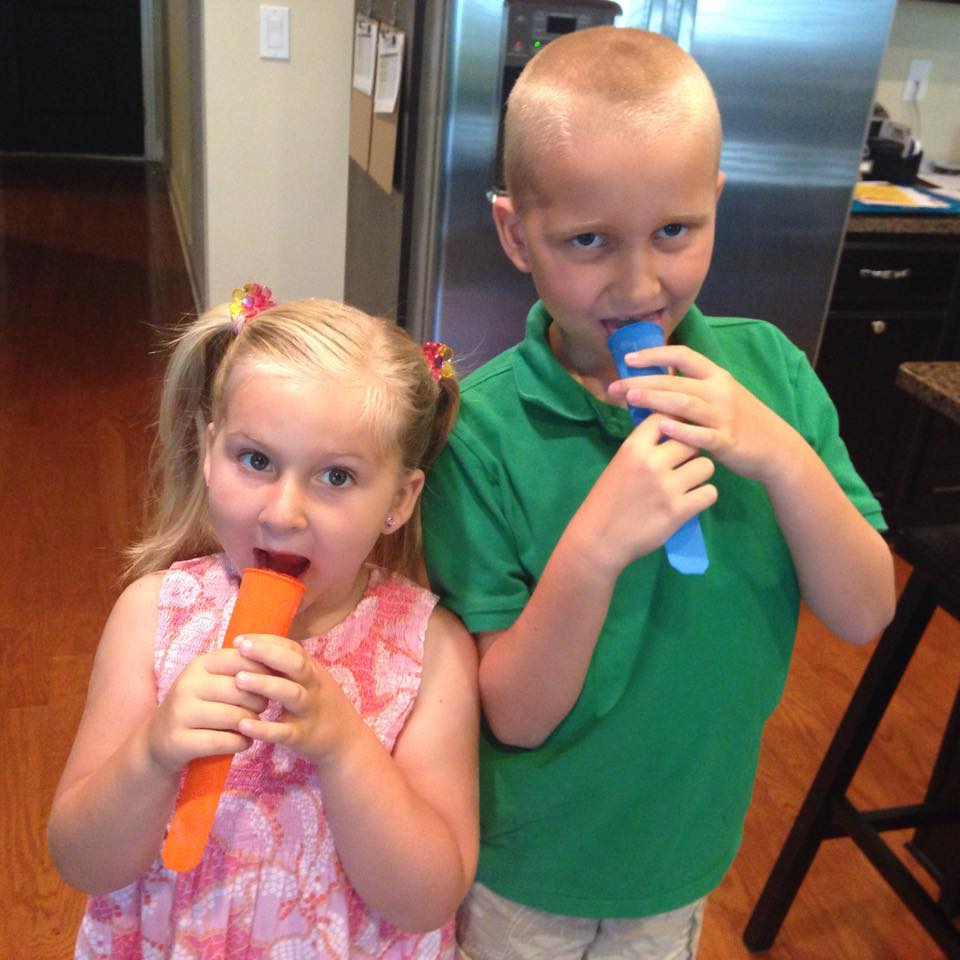
Juice Pops
The easiest of easy popsicles to make are your classic juice pops. Most everyone has some sort of juice in the fridge or pantry. Just pour in and freeze. They are ready in about 4 hours. Now your kiddos can enjoy juice pops, a.k.a icee pops, like we did when we were little. But now you can regulate the juice and not put them into a sugar coma!
I have used several websites to give my popsicle inspiration. Here are my tops sites, Super Healthy Kids and Popsugar. Some even have hidden veggies them! I haven’t tried them yet but plan too.
All together now, “I want a pop-si-cllle. Give me a pop-si-cllle!”
Popsicle Molds
As for popsicle mold choice, it’s really your preference. I personally like to use the individual one. I feel like it is just easier to pull one out of the freezer one at a time versus the whole mold (see pic below for what I mean). I use primarily use Ozera Popsicle molds. These are a set of six individual BPA-free, plastic molds that come with a built-in drip guard to keep hands and clothes clean (or at least attempts too). And they are of course pink, my daughter’s favorite color. But my favorite feature is that the set comes with an interlocking base that keeps the molds in place, which reduces the risk of spills and also saves space in the freezer. I use these to make all of the ice pops mentioned above. Ozera makes a few different colored molds in other sizes and shapes too. Check them all out here.

KitchCo Silicone Ice Pop Molds also come highly recommended. These are a set of 8 individual, BPA-free ice pop molds that are a long, cylindrical shape that resemble the store bought ones. JMB contributor, Shannon, loves these and uses them just about every day. These are great for the juice pops. She fills them with whatever juice she has and has a cool treat ready for her kids on a hot day. And they are dishwasher safe! Bonus!
The molds I mentioned above are just a couple that we used but there are many, many more to choose from! Check out Amazon or stores such as Target or Wal-Mart to find the molds that are right for you and your family. I picked up a set of Jelly Belly brand molds at Target. A quick and easy way to get those pops out of the molds is to run them under running water for a few seconds and they will slide right out.
If you need that frozen treat on the double, check out the Zoku line of quick pop makers. You will have popsicles in minutes!! And you can always take it back to the “old school” style and go mold free by just using small paper cups and wooden popsicle sticks. I can remember doing this a kid. A little tip if using the paper cup method, just put a little plastic wrap over the cup (you may have to tape it) then insert the sticks. Freeze and peel away the cup for a tasty treat!
Your “Pop Star” status will be sure to hit platinum heights after you serve these! So now that I have “I want a pop-si-cllle” stuck in your head, go make some! Let me know what you think and feel free to share your recipes with us too. Happy summer!


")

